How to Prepare Walls for Interior Painting
By JT Express Solutions ·
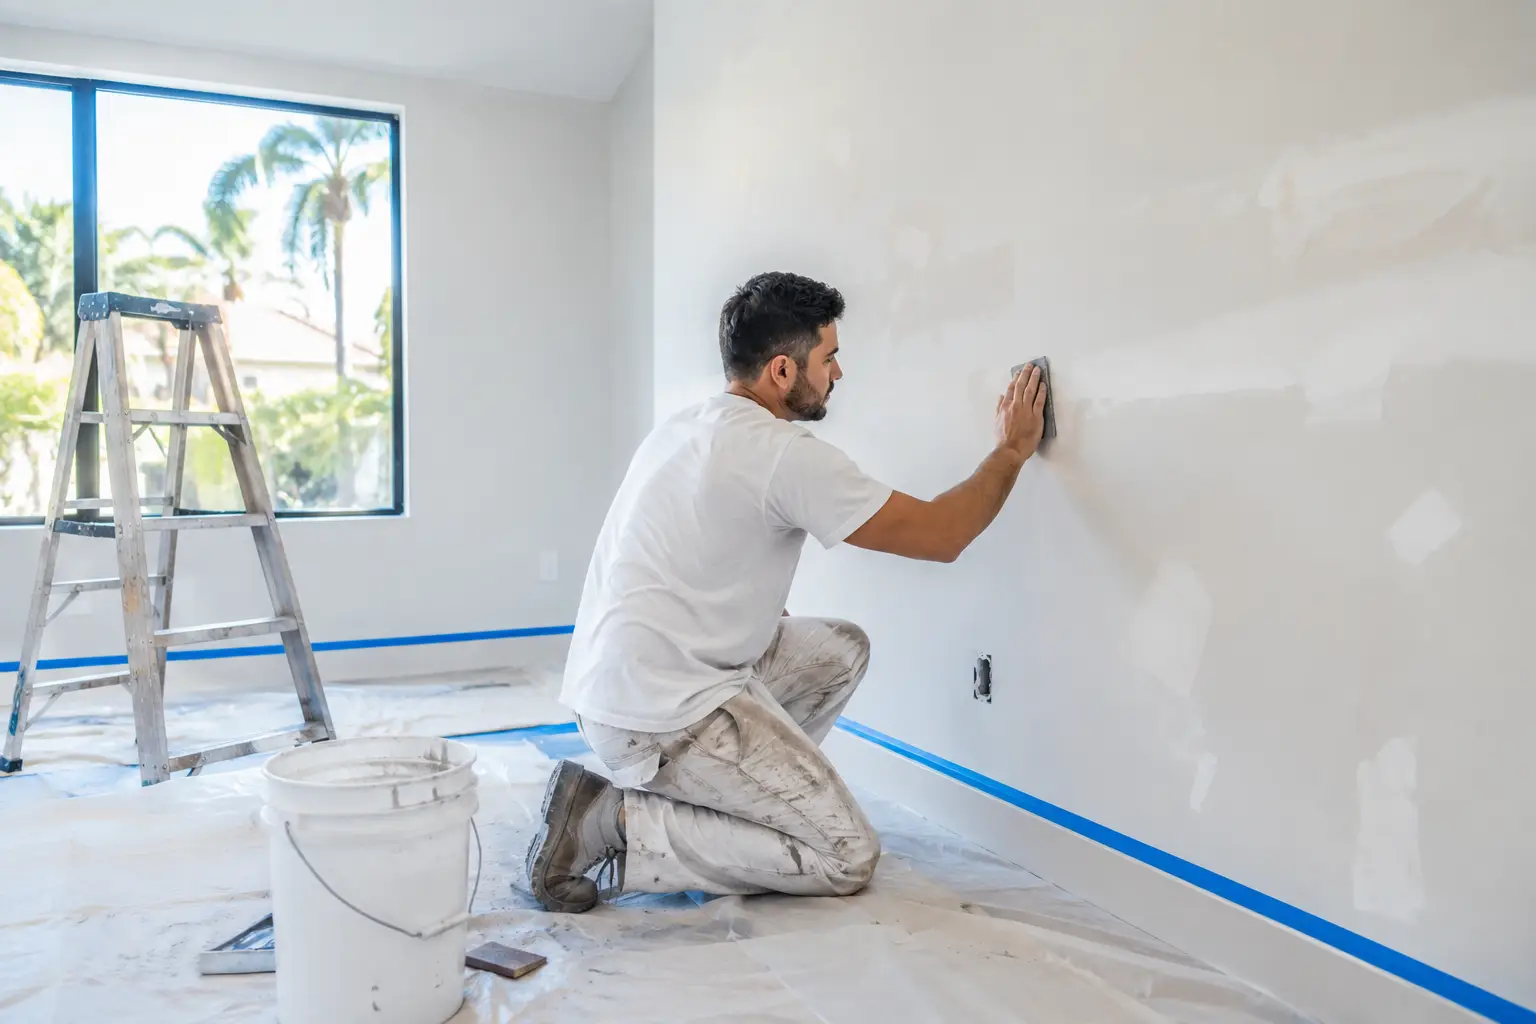
Fresh paint can make a room feel newly renovated, but the final result depends far more on the surface underneath than the color selected. To properly prepare walls for interior painting, every crack, stain, rough patch, and moisture concern needs attention before the first coat goes on. Skipping that work may save a day at the start, but it often leads to flashing, peeling, uneven sheen, and visible drywall seams later.
For Miami-Dade homes, condos, rental units, and commercial interiors, wall preparation deserves particular care. Humidity, prior water intrusion, frequent tenant turnover, and years of layered paint can all affect how a new finish performs. A clean, stable, properly primed wall gives paint the smooth, lasting appearance that makes an interior feel finished rather than merely repainted.
Start With a Close Wall Inspection
Preparation begins with good lighting and a slow visual inspection. Look across the wall from different angles, not just straight on. Side lighting from a window or work light can reveal dents, roller marks, nail pops, uneven drywall joints, and patches that disappear under normal room lighting but become obvious after painting.
Pay attention to stains near windows, ceilings, baseboards, plumbing walls, and air-conditioning vents. Brown rings, bubbling paint, soft drywall, or a musty odor may point to an active or previous moisture issue. Paint should not be used to cover an unresolved leak. The source needs to be corrected, the area allowed to dry, and any damaged drywall evaluated before cosmetic work begins.
In condominiums and apartment communities, it is also wise to identify hairline cracks versus moving cracks. Small settling cracks can often be repaired as part of normal wall finishing. Wider cracks, recurring cracks, or cracks accompanied by staining may need a closer assessment before painting begins.
Protect the Room Before Surface Work Begins
A well-managed painting project starts with protection, not paint. Furniture should be moved away from the work area or carefully covered, while floors, countertops, cabinetry, fixtures, and nearby trim receive appropriate protection. Removing outlet covers, switch plates, window treatments, and hardware creates cleaner edges and reduces the temptation to cut corners.
This step matters in occupied homes and rental properties where the goal is to improve the space without creating unnecessary disruption. Clear communication about access, furniture, drying time, and daily cleanup helps keep the project organized from the beginning.
Clean Walls So Paint Can Bond
Walls collect more than dust. Kitchens often have cooking residue, bathrooms can hold hairspray and soap film, and high-traffic hallways accumulate fingerprints and oils. Paint applied over these contaminants may not adhere evenly, particularly with satin, semi-gloss, or other washable finishes that reflect light.
Most painted walls respond well to a gentle cleaning with an appropriate mild solution, followed by a clean-water wipe if needed. The wall must dry fully before repair materials or primer are applied. Heavier grease buildup may require more targeted cleaning, especially behind ranges, near dining areas, or in rental units where the condition of prior finishes varies.
Mildew should be addressed carefully rather than painted over. The affected area needs to be cleaned using suitable procedures, dried completely, and monitored for the underlying moisture condition. If moisture remains present, new paint will not solve the problem.
Repair Drywall, Cracks, and Surface Damage
Paint highlights imperfections, especially in rooms with bright natural light or modern recessed lighting. That is why drywall repair and finishing are central to wall preparation. Small nail holes, picture-hanging anchors, dents, scuffs, and minor chips should be filled with the right patching compound and allowed to dry fully.
Larger holes, damaged corners, loose tape, and cracked drywall seams require a more complete repair. The damaged area may need to be opened, reinforced, taped, coated, sanded, and feathered into the surrounding wall. Rushing this sequence can leave a raised patch or visible edge that becomes even more noticeable after paint is applied.
Texture creates another decision point. Many South Florida properties have orange peel, knockdown, or other textured walls and ceilings. A repair on a textured wall should be blended to match the existing finish. If the wall has many patches or inconsistent texture, a broader skim coat or texture refresh may produce a more unified result than spot repairs alone.
Sand With the Final Finish in Mind
Sanding is not simply about making a patch feel smooth to the hand. It is about making the repair disappear under paint. Each coat of compound should be sanded after it dries, with attention to the transition between the repaired area and the original wall.
After sanding, all dust should be removed. Fine drywall dust can interfere with primer adhesion and leave a gritty finish. High-sheen paints and darker colors tend to reveal more surface variation, so they demand more careful sanding than a flat finish in a low-traffic room.
Prime the Right Areas, Not Just the Entire Room
Primer is often the difference between a uniform paint job and a wall that looks patchy from one side of the room. Newly repaired drywall, bare drywall paper, joint compound, stained areas, and significant color changes commonly need priming before finish paint.
Spot priming can work for small repairs when the surrounding wall is in sound condition. However, full-wall priming is usually the better choice when there are extensive repairs, a dramatic shift from dark to light paint, uneven existing sheen, smoke or water staining, or unknown layers of old paint. The correct primer also helps control stains that ordinary paint may allow to bleed through.
The choice depends on the wall condition and paint system. A standard drywall primer is not the same as a stain-blocking or bonding primer. Using the right product for the issue avoids wasting finish paint and gives the final color a more consistent appearance.
Caulk Gaps for Cleaner Lines
Painting is often done alongside trim, baseboard, door, or cabinet updates. Before painting, small gaps where trim meets the wall can be caulked to create a sharper, more polished line. This is especially valuable in older homes, apartment turnovers, and spaces where baseboards have been replaced after flooring work.
Caulk should be used where it is appropriate, not as a substitute for repairing major damage or unstable joints. It must also cure according to the product instructions before paint is applied. A rushed bead can shrink, crack, or create an uneven edge under the final coat.
Choose Paint Sheen After the Wall Is Ready
The paint finish should suit both the room and the condition of the walls. Flat and matte finishes help soften minor imperfections and work well on many ceilings and low-touch walls. Eggshell and satin offer more washability for living spaces, hallways, and bedrooms. Semi-gloss is often selected for trim, doors, kitchens, and bathrooms because it stands up well to cleaning.
There is a trade-off: the more reflective the sheen, the more it exposes drywall flaws. If a client wants a crisp satin or semi-gloss look on walls, surface preparation needs to be especially thorough. In bathrooms and humid areas, moisture-resistant paint and proper preparation are both part of a finish designed to hold up over time.
When Professional Preparation Makes Sense
A straightforward repaint may only require cleaning, minor patching, spot priming, and careful application. But walls with water damage, recurring cracks, extensive holes, failed paint, significant texture problems, or a history of poor repairs call for experienced drywall and painting work. The same is true when an occupied property needs efficient scheduling and dependable protection of floors, furnishings, cabinetry, and fixtures.
For homeowners, landlords, and property managers, proper preparation also makes project costs easier to understand. A transparent estimate should separate visible repairs, surface preparation, primer needs, and painting scope rather than treating wall condition as an afterthought.
A beautiful interior paint color deserves a sound surface behind it. If your Miami-Dade home, rental, or interior improvement project needs wall repairs and a paint-ready finish, JT Express Solutions can assess the condition, explain the recommended scope, and provide a clear estimate for the work ahead.